Infocenter
In the infocenter is the data management area where you can view all available data which are imported from the different sources. It allows you to gather valuable information related to place, creative work, product, categories, administrative areas, tags, and events.
Find relevant objects
There are many different ways to proceed with a search in Infocenter on the partner portal:
Using menu items
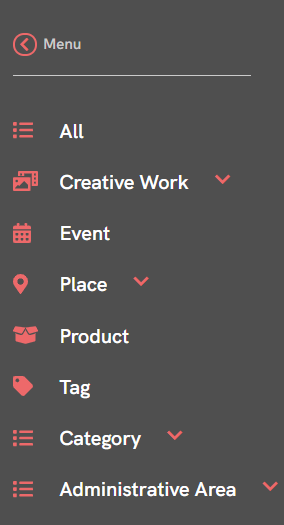
The menu tab is very easy to navigate. It consists of different tabs (Creative work, Event, Place, Product, Tag, Category, and Administrative area). For Category and Administrative area, the tree menu item leads you to the tree presentation of the data. When you click on any of the menu items, it will be used as a filter for your search query.
Using filter tab
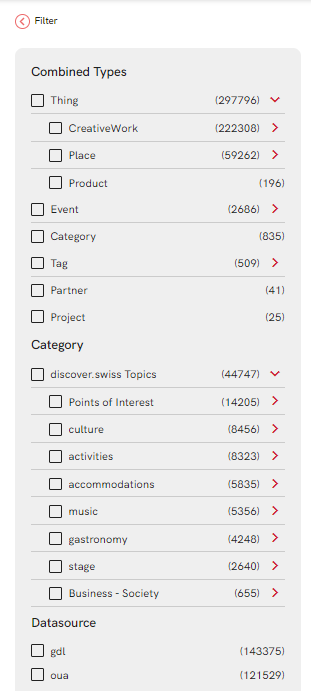
In addition to the menu tab, the filter tab will give you many options to enhance your search results. It contains three different filters; Combined Types, Category, and DataSource.
Combined Type is a combination of the types discover.swiss uses in the endpoints and additionalType. It is used to deeply and precisely define the type of the object. It represents the hierarchy of schema.org classes which discover.swiss extended with some classes (types) that do not exist in schema.org. It can help you navigate through the data classification Thing and Event.
Category can help you navigate easily among all available categories within discover.swiss and use them as a filter
DataSource helps you to chooses a specific data provider.
Warning
Several checked values inside one filter (type, category, or datasource) are combined with a logical "Or", several filters are combined with a logical "And". Therefore, if you select a parent all children will be implicitly selected.
Using advanced search
It helps to proceed with normal text query search. You can search for names, descriptions, identifiers, or addresses. It will result in general search results where the searched term matches any of these properties.
Tip
Use always the same language as selected in the partner portal because the search will search against the properties in the specific language.
Additional filters:
There are additional properties which can be used as a filter along with the search bar. It allows to apply one or more specific filters to the search query. In other words, to connect the term "in the search bar" with a specific filter, e.g. Name, Description, Identifier, Address, and Additional Property.
-
Status and schedule date: the user has the option to search within the published and unpublished data. Also, by specified date range.
-
Filters chosen in popup windows: the user is able to choose specific project, tags, or regions.
Example
Using the advanced search, adding the word "Zurich" in the search bar, and checking the filter "address" only. It will match the search results where the "address" filed has the word "Zurich".
Info
By default, each partner's login is assigned to his project. That means this project will be used as a filter, the search will result only in data related to this project.
Search hints
We are in the process to enhance our search function in Partner Portal. In this chapter, you can find helpful hints on how to find certain items (content entities).
You can narrow down the search results by adding more filters.
By Project
If you know that the item (content entity) exists in a certain project, you can select this project as a filter (in addition to other filters, e.g. filter tab and menu item). after that you can observe the search results, you may need to scroll down or go to the next page.
By Datasource
You can use the provider's id (e.g. Outdooractive or Guidle). Simply place the provider's ID in the search bar.
One Word Search
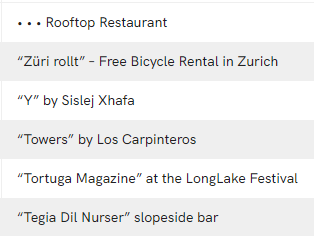
Most items contains long text in the title. Moreover, some characters or symbols (as provided by the author, look at the photo). Which may impact the search function. To overcome this issue, try searching for a unique word (from the title) along with the combined type. e.g. slopeside bar, not Tegia Dil Nurser.
Detail pages
For most of the objects, a specific detail view exists with all the detailed information of the object. This chapter provides some explanations of how the presented data is shown on the Partner Portal.
Tab overview
Depending on the type and available data different tabs were displayed. If for example, no images were available then the Media tab is not displayed.

| Name | Description |
|---|---|
| Overview | In the overview the most important information of an object should be displayed |
| Description | Contains additional information as for example the description, available languages |
| Location | This tab contains the location information as for example the coordinates and address |
| Classification | This tab contains the type information, regions, tags, and assigned projects |
| Links | Contains links to a hotel for example and all links which we are managing withing the graph |
| Media | Contains all linked media of this object e.g. images, audio, and video files |
| Metadata | Include the data governance details and for example the external id of the source system |
| Audit trail | Audit trail of changes which were done on this object e.g. a user has assigned a specific project |
Schedule table
The schedule table, in which the date, timing, and recurring of an event or tour are presented.
In the first schedule, the event is happening on a specific date (21.07.2021) once.
While on the second one, the event is recurring every Saturday and Sunday.
Data management
For information about content organisation check this page.
The user can:
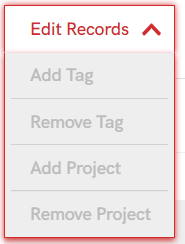
- add and remove tag
- add and remove project
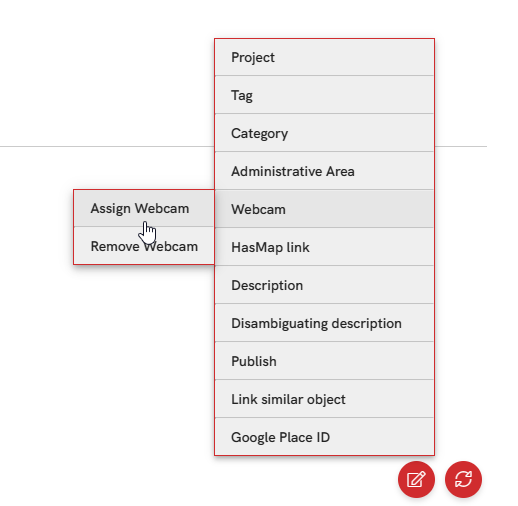
This action is available in the list view and detail view. Open the context menu for it:
Tags
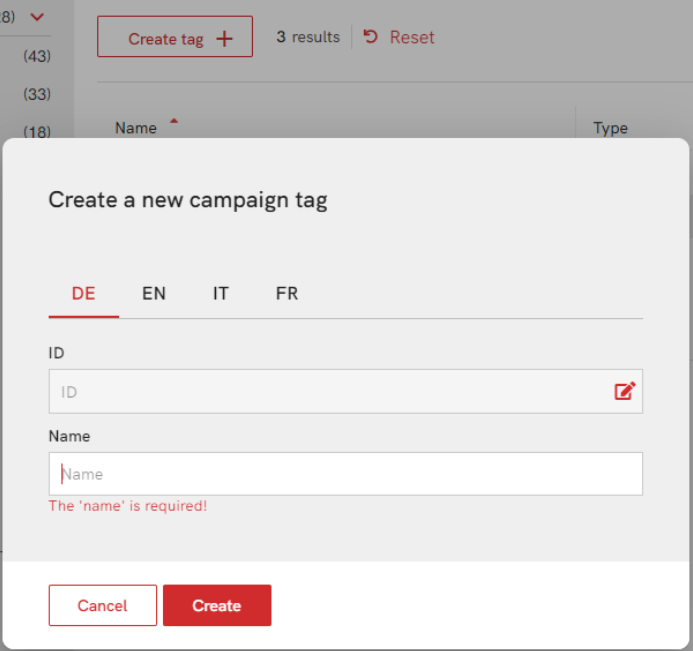
A user can create new Campain Tags for the current partner. For more information about it, please check Tags - content organisation.
The Tag Id will be generated automatically based on the name. It can manually be changed by clicking on the edit button on the ID field.
Create campaign tags with _proposal_ in the id to tag recommendations. The common tag proposed-by-editor will be assigned automatically if there is any proposal tag assigned to the object. For a list of common mappings and rules see Content organisation
Reviews
We import reviews from different source systems but as a partner, you can create your reviews. Basic information is available on the page Reviews and recommendations.
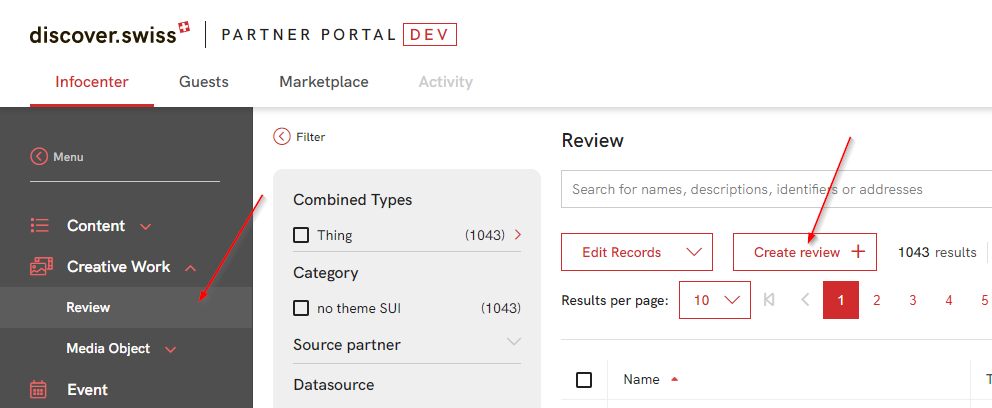
In the review list view, you can find the button to create a new review.
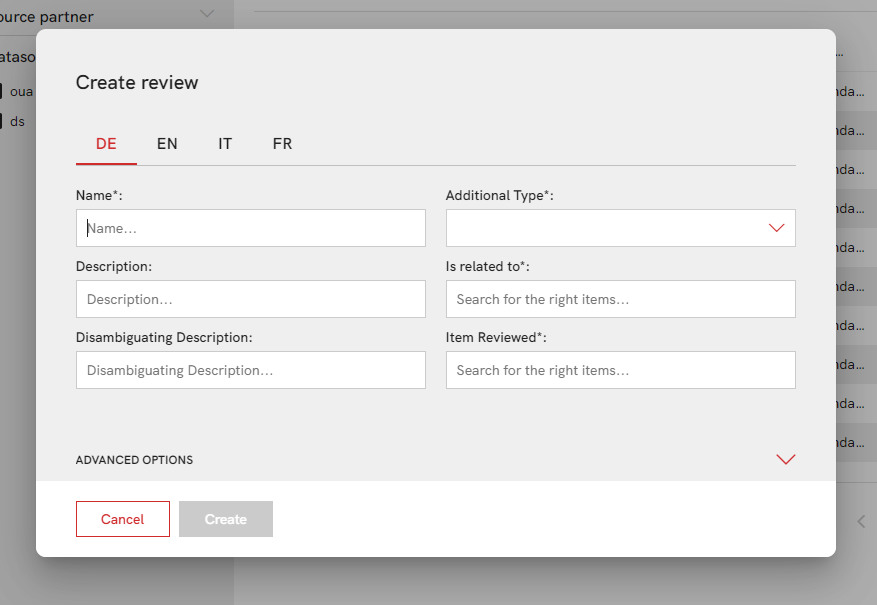
A modal appears to create the new review. In the "Is related to" field you need to enter a discover.swiss id on which you want to add related objects. For example from a specific restaurant you recommend a tour and a point of interest. In this case the "Is related to" is the discover.swiss id of the restaurant and in the "Item reviewed" field the reviewed items need to be added. As additional type access and recommendation can be selected. The type recommendation should be used for the scenario when you want to recommend other objects. The type access should be used to define an access point for an object e.g. if you need to access a restaurant via a cable car.
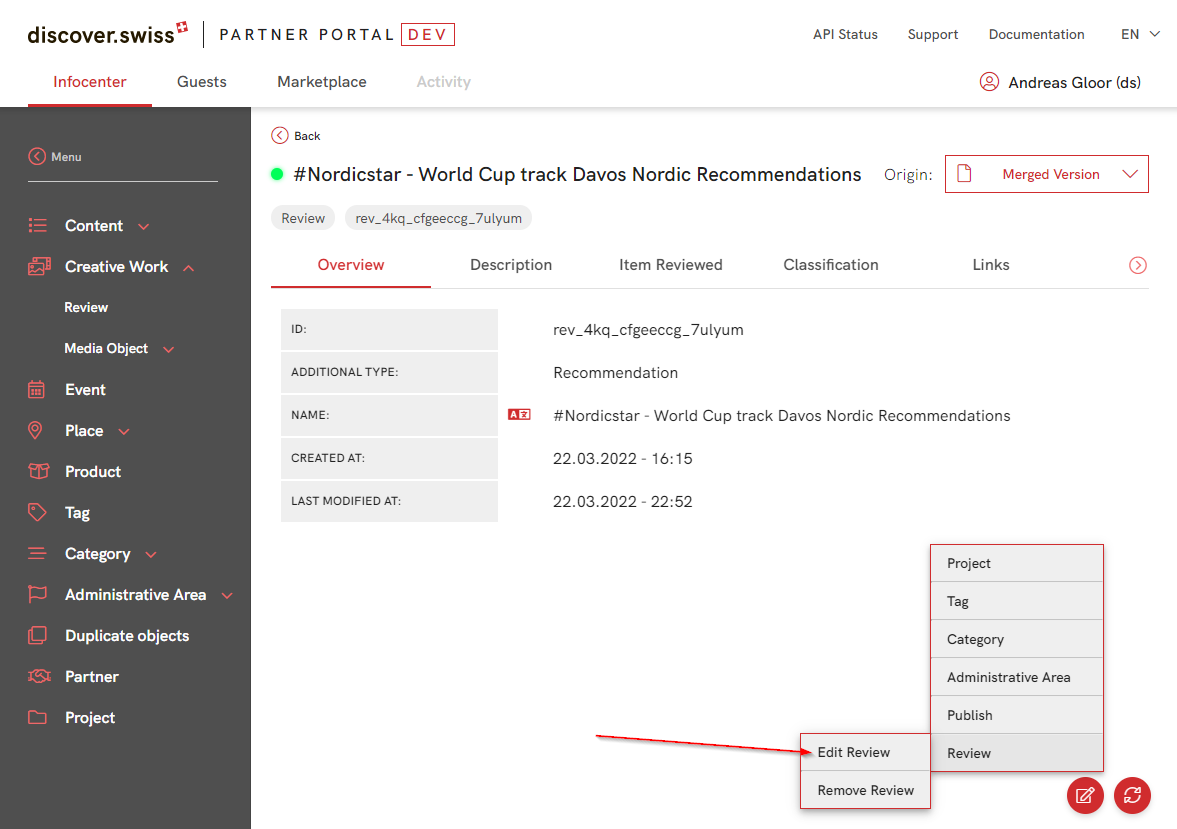
To edit an existing review you need to open the review detail page and then you can access the edit form via the context menu.
Merge and split duplicates
The system is automatically merging duplicate objects with high confidence.
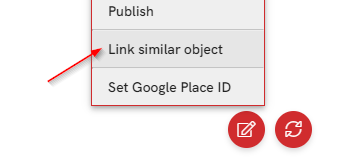
Objects can be merged manually with the following steps. First, you need to connect the two objects together. On the detail page of an object you can use the action "Link similar object".
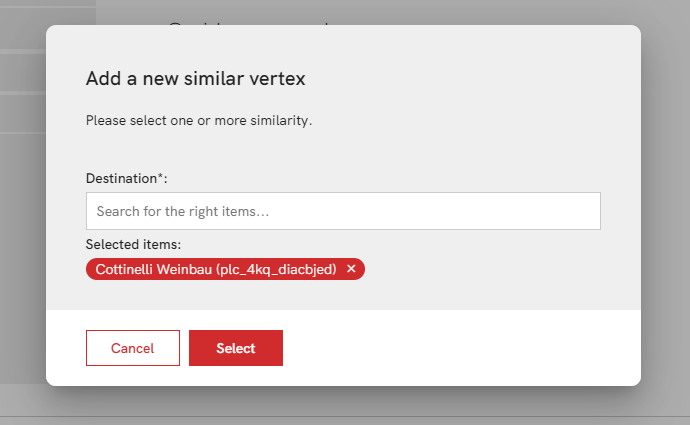
In the selection add a similar object.
When a similar relationship is created the objects can be merged by clicking on the merge action in the link duplicate view. If a similar relationship is created automatically but it's not a correct similar object then you can ban the similar relationship so that it can't be merged automatically.
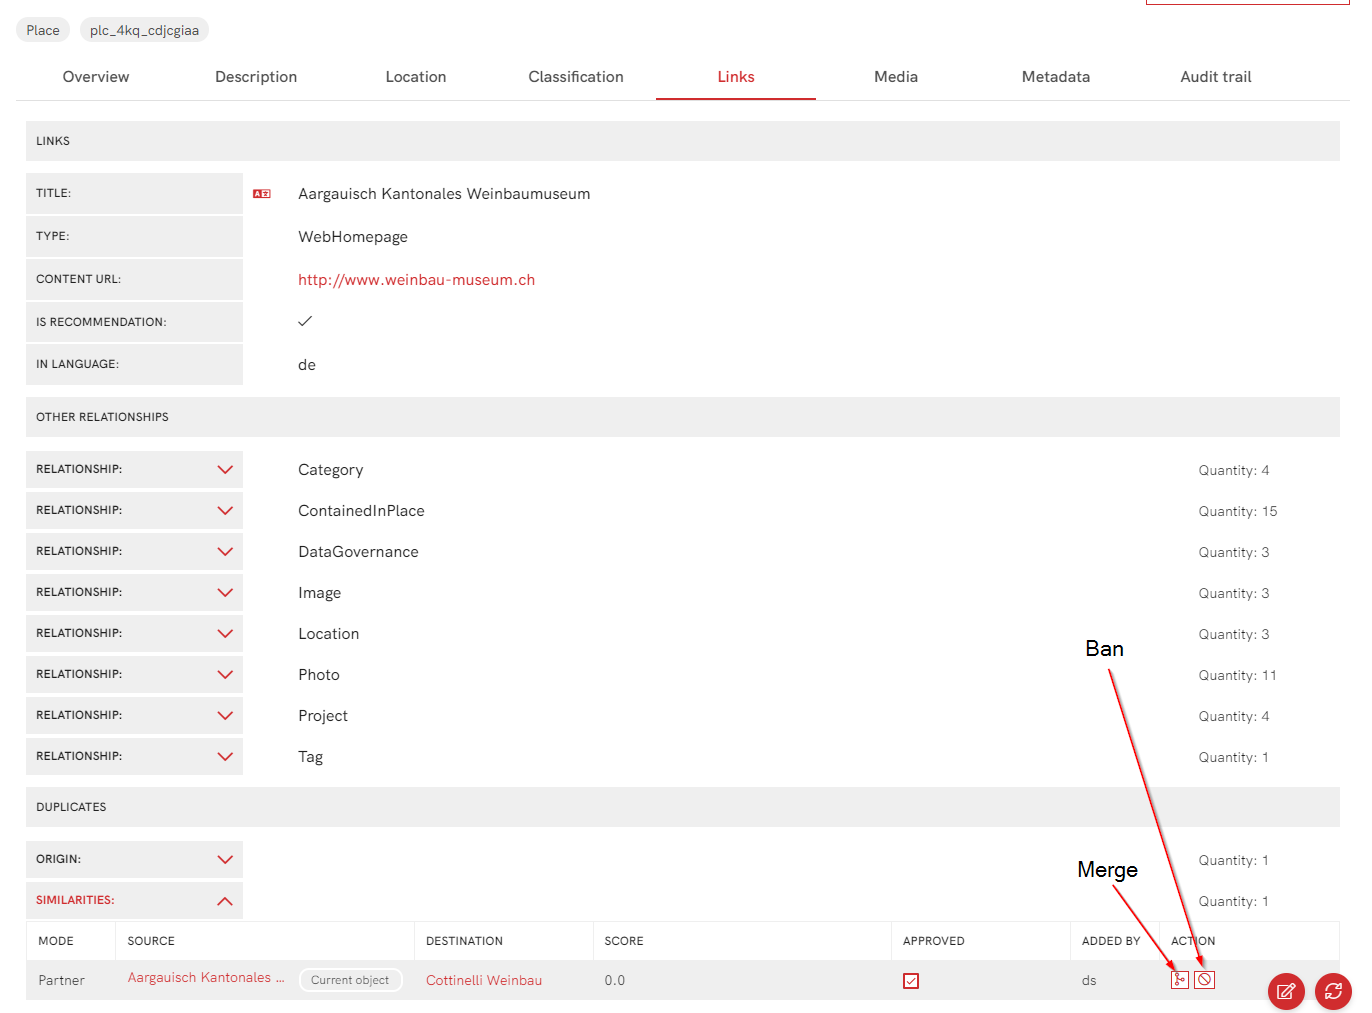
If two objects are wrongly merged you can split dem in the Links / Duplicate View with the split action.

If two objects were once separated manually, they cannot simply be merged again. The similar object must first be actively "approved" before the merge action can be carried out.

Edit data
Most of the data within the Infocenter can't be edited in the Partner Portal.
The following actions are possible:
- Add Google Place ID
- Set or overwrite Description
- Set or overwrite Disambiguating Description
- Link Location on Products
- Set HasMap link
- Link Webcams on SkiResorts
For more details see the sections below.
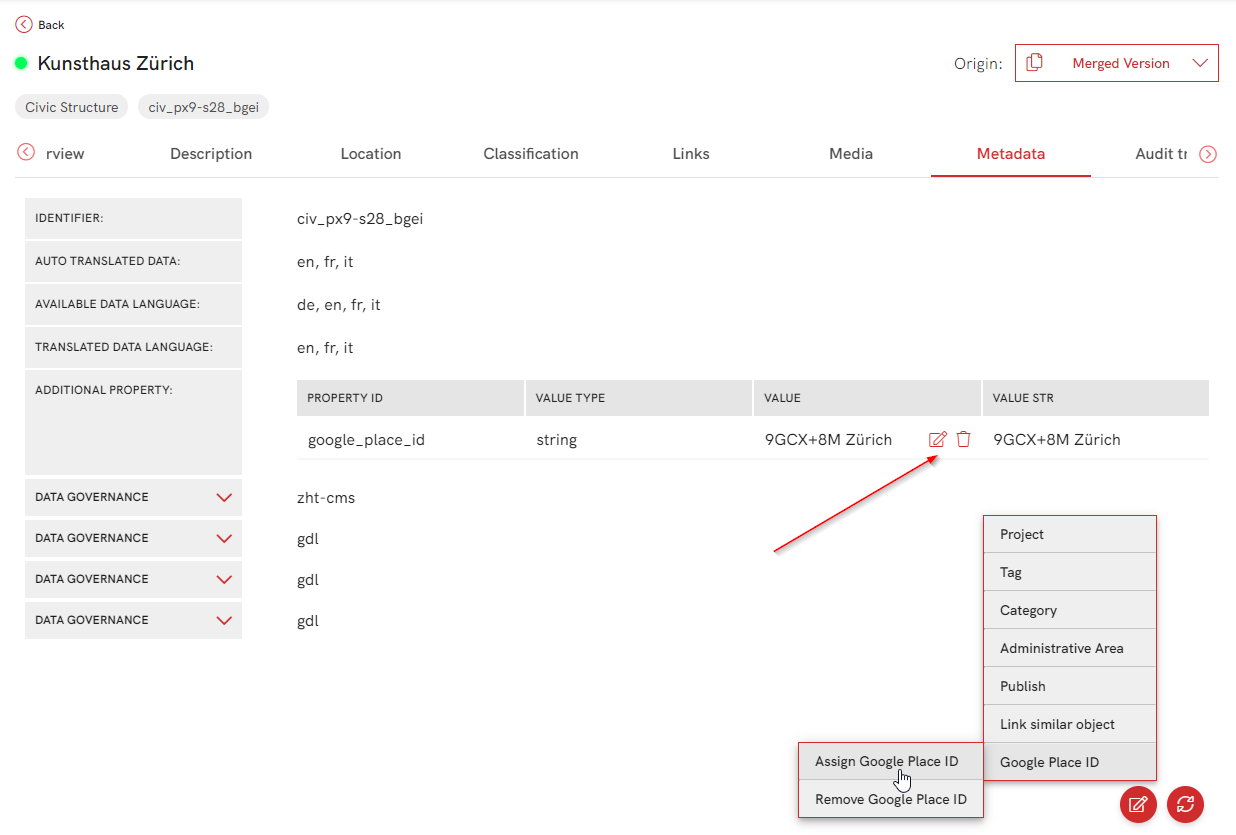
Google Place ID
It's possible to manually set the Google Place ID via the context menu in the detail view of an infocenter object. If the Google Place ID is defined for an object then it's shown in the Additional Properties in the Metadata Tab. In the Additional Property Table, it's directly possible to edit and delete the ID.
Edit description and disambiguating description
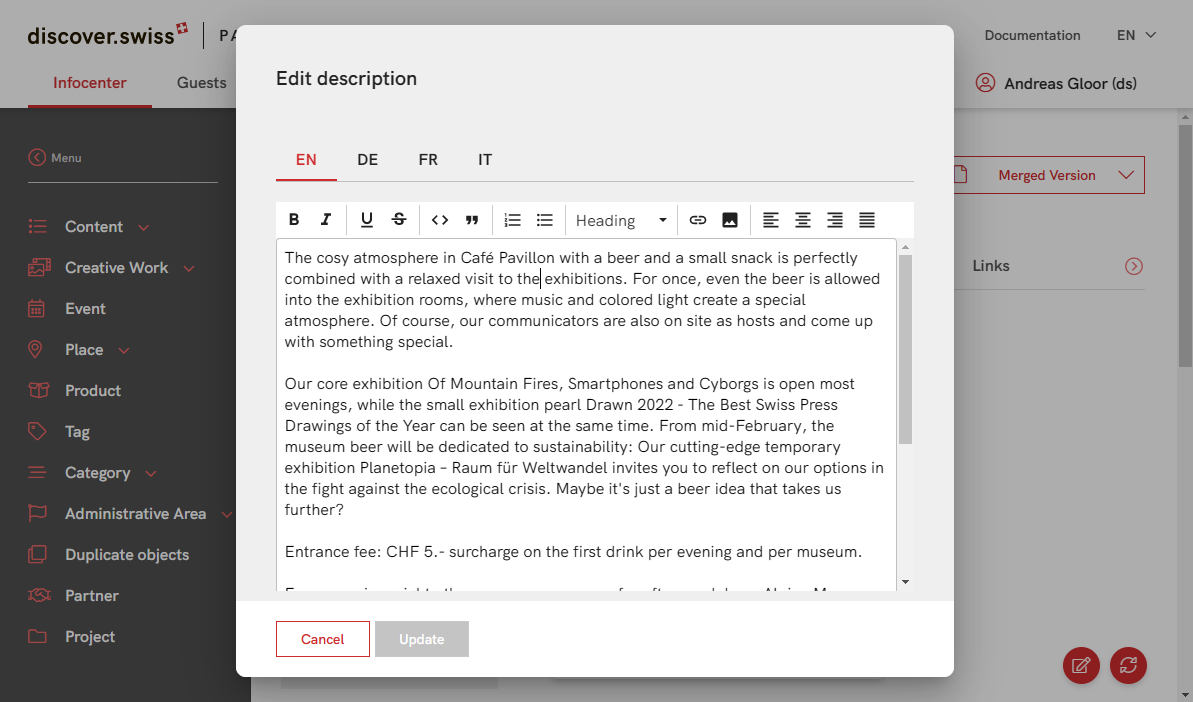
It's possible to overwrite or set the description and disambiguating description in the partner portal. The form can be opened via the context menu in the detail view of an object.
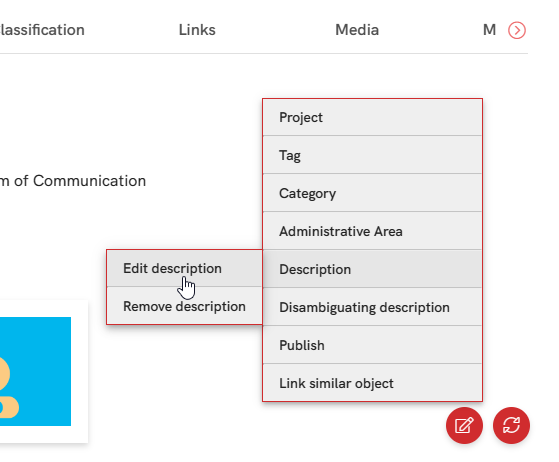
The current value will be used as a starting value. If you remove the adjusted description again then it will fallback to the description provided by the datasource of the object.
hasMap link
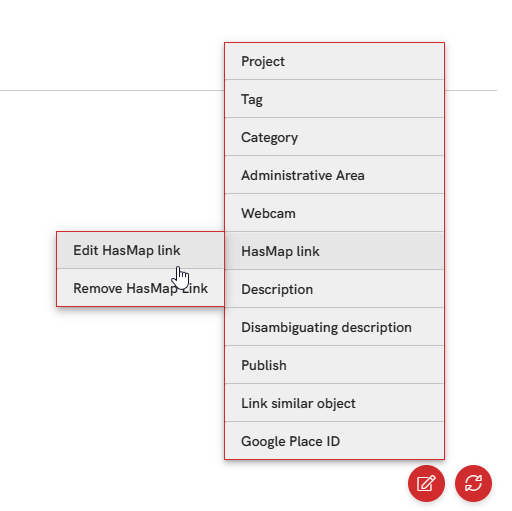
All Places and Subtypes can have a hasMap link which contains a link to a map of the place. This link is set automatically on the ski resorts to the interactive map of the resort.
On the detail page of a place, you can add or remove the hasMap Link via the context menu.
Manually link a location to a product
Products can be linked to places so that API users can sell the product which is available in a specific place. The location of a product is defined by the areaServedproperty.
On the detail page of a product the areaServed can be added via the context menu.
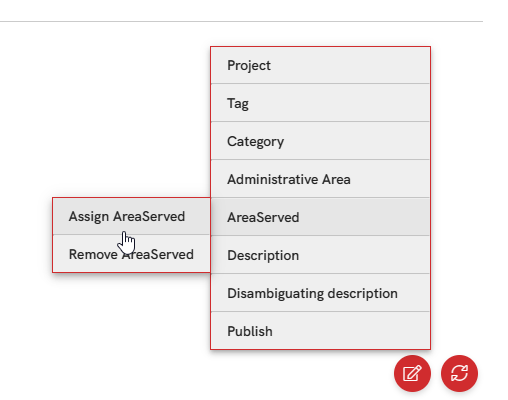
In the form enter the name or id of the place you want to link to the product.
Manually link webcams to ski resorts
Webcams available at a ski resort were returned by the ski resort object if they are correctly linked. You can manually link additional webcams to a ski resort over the action "Assign Webcam" in the context menu of the detail page of a ski resort.
